Let me preface this by saying I don’t really know what I’m doing here. Also that I clearly made a bunch of mistakes already. But in case it’s helpful, I’m going to walk through this:
Amaryllises. So, if you plant them in gravel in glass vases, you can see the pretty white roots winding through, which is very dramatic, but then they’re one-and-done. Two years ago, I decided to invest in a bunch of amaryllises and try to grow them in soil so they would, hopefully, come back year after year. They cost about $30-$40 each, so it’s a lot to just throw away every year! The first year, I was very haphazard about them — they grew, bloomed, I cut the flowers off, treated the leaves like a houseplant, and then some of them came back and bloomed again at random times through the year.
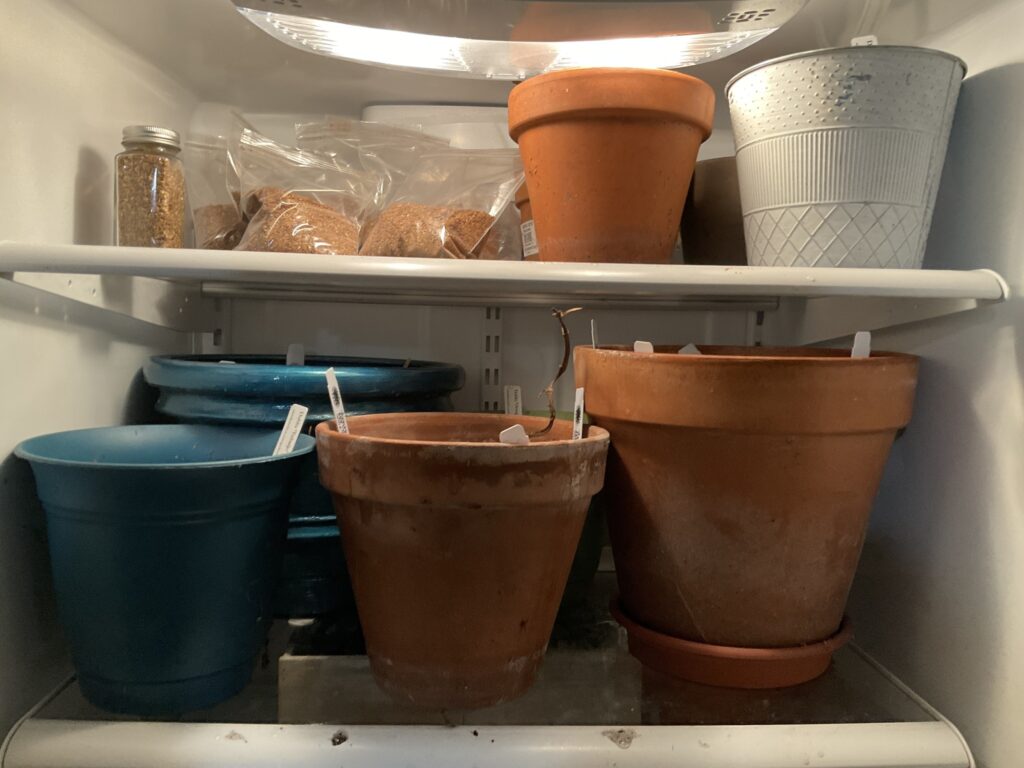
This year, I decided to follow the instructions a bit more, and give them a chilling period. So sometime around…um…September? I stuck all the potted bulbs in our basement fridge (after cutting the flowers off, watering the leafy plant until the leaves went yellow and withered away).
I could’ve also put them in our unheated garage; our basement itself is heated, so doesn’t work for chilling. I *think* the fridge was okay? The internet tells me: “Amaryllis needs eight weeks of chilling time in 55 degree F temperature.” My fridge is colder than that, but I had other things in there, so didn’t want to set it just for bulbs.
I then completely neglected them for four months. I didn’t sprinkle water on them at all, which I don’t think they needed.
I ended up having a really busy fall, and then we went away for the holidays, so instead of pulling them out in late November or early December as planned, I pulled them out today, mid-January. Which is really not ideal, since that means amaryllises blooming in March or so, and by that point, I’m kind of over amaryllises and all about the snowdrops and other outdoor garden tiny bulbs. But for the sake of science, I thought better to give it a shot, and at least see if my fridge-chilling worked.
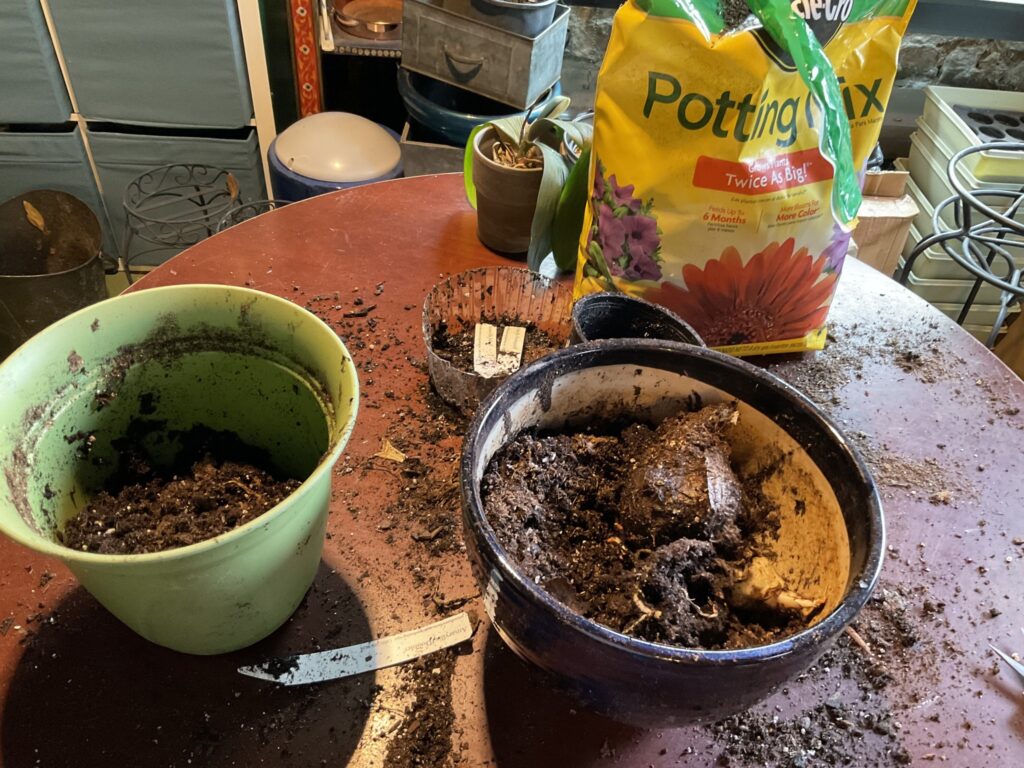
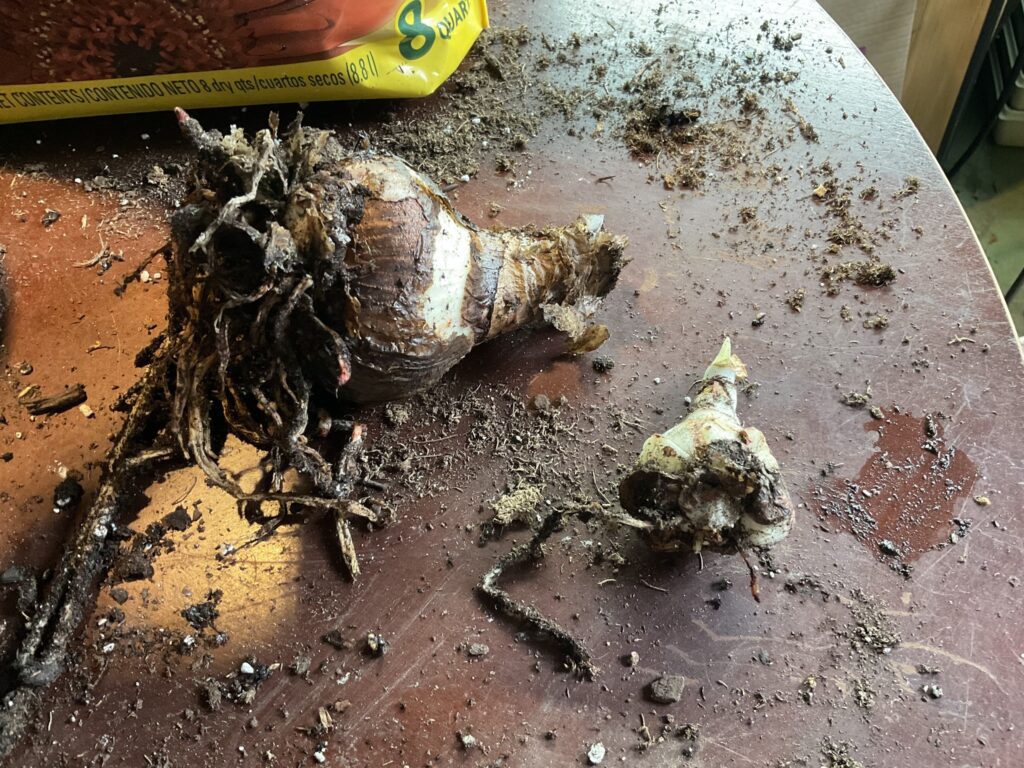
Next step was to check each bulb to see if it survived. So I gently tipped them out into a larger pot (if you pull them, you might break the roots), and pressed the bulb. If it’s soft and rotted, it’s done — I lost two of them that way, alas. Compost. If it’s firm, you’re good. If it’s dry and shrivelled, you may be able to rehydrate — none of the amaryllis bulbs were, but see dahlias in my next post.
Two of the amaryllis bulbs had actually budded new bulbs (1 and 2 respectively), so I gently broke those off, trying to preserve some attached roots, and repotted them separately. So in the end, I actually ended up with one more bulb than I started with, which I’m counting as at least a partial win.
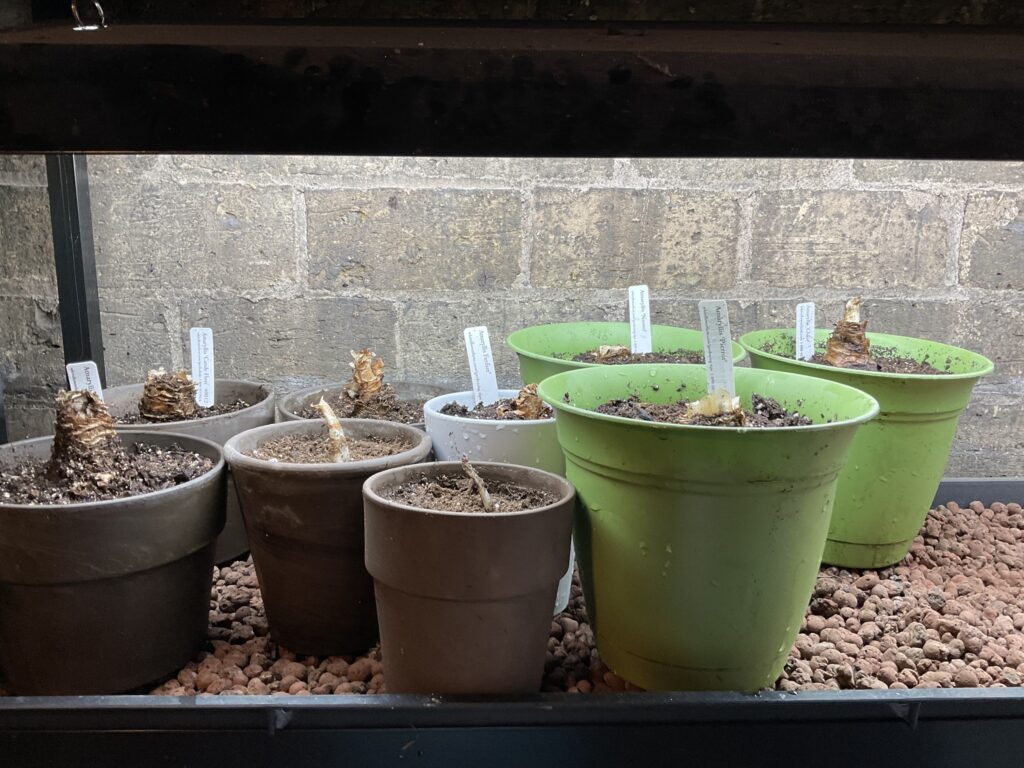
Now they’ve had a bit of new potting soil added (leaving 1-2 inches of bulb above the soil), been watered, and set up under grow lights on a heated mat, just to give them a bit of a kickstart (although if this is a bad idea and I should turn off the mat or put them in a window instead, somebody tell me, please!). My plan is keep the soil moist — this is the time of regular watering — wait till they send up green shoots, let them get a bit of height, and then move them to the windows.
I THINK this will result in lots of blooming amaryllises in March. We’ll see! The babies probably won’t bloom, but if they grow well, I’ll give them away to local gardeners willing to cosset them for a few years until they’re big and strong. ![]() We’ll see!
We’ll see!


