
First, he cut the backs out of plywood. In theory, I know how to do this too -- I used a table saw in college to build theatre sets. But in practice a) it's been twenty years, b) it's his table saw, and c) he did some fancy stuff to make them lean out at the bottom (for more comfort) and to interlock at the corner, all of which would have been beyond me. So hooray for having a carpenter around. :-)
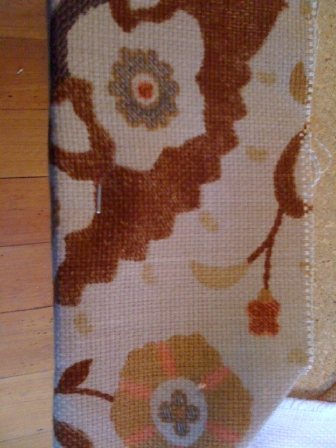
I bought foam at the fabric store and had them cut it to size, using the measurements Piotr provided. This proved complicated, because the pieces weren't wide enough, so I had to piece various bits together, and they were too long, so they were reluctant to make the cuts, but I think I sounded pathetic enough that eventually they just gave in and helped me. Don't underestimate the power of begging. I also bought a bit of batting to stretch over the top of the foam, to avoid seams showing through. And of course, I'd bought my discounted fabric a few months ago, Richloom Calder's Suzani fabric in Linen Spice, heavily discounted at fabricguru.
It looks like it costs more now, but at the time I bought it, they were selling it for $18 / yard; I bought 4 yards, which was pretty much exactly what I needed. So $80 for fabric, and about $100 for foam + batting. Not sure how much the plywood cost, but not a ton. Piotr's labor costs me around $30 / hour, I think, so I'd estimate the whole project cost me somewhere between $250 - $300, plus 3-4 hours of my time. (At least an hour of that was hunting fabric on the internet. :-)
Piotr propped the plywood on his sawhorses (I am envious of his sawhorses -- want!), and we got to work; the rest of this took about an hour. Place the foam, find that they've somehow cut it too wide (better than too narrow!), get out the marker, mark and cut to size. Lay batting over, and then fabric. Pull taut and then go to town with the staple gun. I can't remember why exactly I bought a staple gun a decade ago, but it served me well yesterday.

We finished one, placed it, and it looked great. Then Piotr decided he could trim the other piece to butt up against the first (rather than try to get them to meet in the corner, much trickier to manage with all that foam and fabric), so he trimmed the plywood and then we repeated the whole foam + batting + fabric + staples process. It takes a bit of precision, but aside from that, if you can staple and have access to someone who can work a table saw (which may include the friendly guy at your local home improvement store), you can do this. Surprisingly easy. And I LOVE the result.
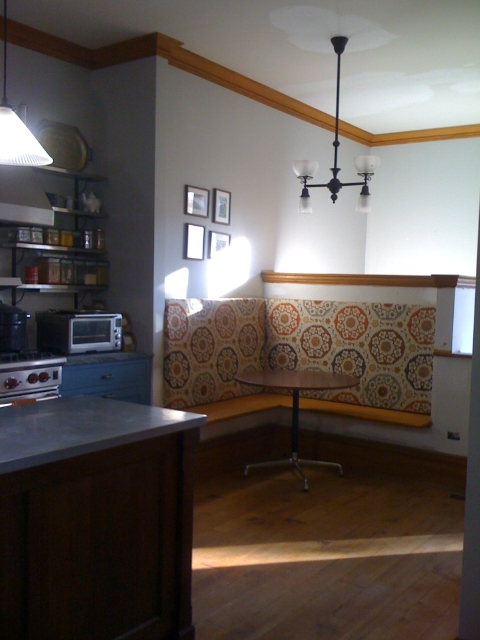
I like how the fabric colors work with the pine trim color, the light grey walls, and the open shelving with its canisters of Sri Lankan spices. The rest of our kitchen is a little cool and industrial, but this corner transitions into a warmer, kid-friendly space.

Just so pretty. And remarkably satisfying, seeing a vision in the mind's eye become a reality -- and still look good. :-)