We’re heading into a two week very cold stretch here in Chicagoland, so I’m trying to use this time to slow down and get crafty. Less about producing a lot, and more about learning some new skills, and especially, finishing up old projects!
This morning, I pulled out some fabric pieces that I cut last spring for a new mask pattern, and then didn’t feel like I ever had time to learn how to make a new pattern. So I’ve just been making the same Deaconess hospital mask for close to 11 months now, and I can basically do it in my sleep, and it’s a good, reliable pattern, but sometimes you want something different.
The Deaconness mask calls for two layers of cotton with a layer of filter fabric sewn in, which according to what I remember of the research, should be close to 70-80% filtering strength. It’s a good option, I think, for occasional use — going to the grocery store, going on a neighborhood walk, etc. You should clean it after use, but after light use, leaving it in a sunny spot for a day or two should be fine, and then every once in a while, wash it with your delicates. For a lot of people, having 2-3 of those on hand will be sufficient for their needs.
But some people have asked me if I make the kind of mask with a filter pocket, so you can wash the cotton part regularly and add in new filters every time you use them. That seems a little more effort to me, for light use, but I think we all have to make our own judgements about what level of protection and effort we want, and it’s not like it’ll be less protective than the Deaconness Hospital style (as long as you do actually add in the filters), so I thought I’d try making one.
This fabric I’d cut long and long ago, for exactly that purpose, so this morning, I finally got around to trying it.
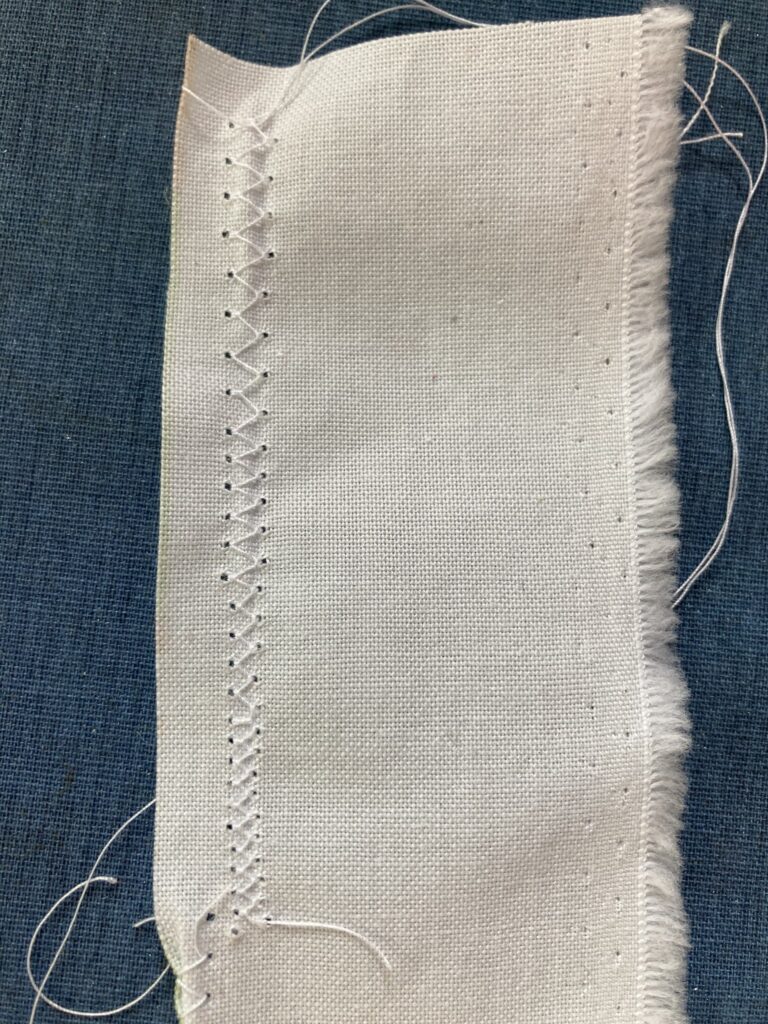
Then I ran into another issue — the first step of the pattern called for either serging (I don’t have a serger) or using a zigzag stitch to finish two raw edges (to prevent fraying).
Now, at the start of mask-sewing in March, my machine broke, and Jed kindly gifted me a new one. (Still hoping to get the previous one fixed at some point, donate it to the makerspace.) But I never took the time to figure out how it worked beyond the very basics. It had default zigzag stitch, which I’ve used, but it seemed very wide, and it’s a fancy electronic machine, so I was sure it had other options.
This morning, I finally opened up the manual, and found that yes — if I select zigzag, then press the F4 function key, I get another menu where I can adjust the width and length of stitches. This is huge, people — it also means I can baste with my machine, yay. I do not love hand-basting.
In this second photo, you can see me trying out different stitch lengths and widths, getting smaller as I went down. In the third photo, I’ve stitched a narrow zigzag, and in the fourth, I’ve trimmed the fabric close to the stitch.
Yay! Slowed down, learned something, will make my sewing life much better going forward, should’ve done it months ago, but oh well. Onwards.